DIY Installation for Used Car Parts in Richmond, VA
Thinking about tackling that car repair yourself? You're not alone. More and more Richmond-area vehicle owners are discovering the satisfaction—and savings—that come with DIY installation of used car parts. Whether you're a seasoned DIY enthusiast or attempting your first repair, this comprehensive guide will walk you through everything you need to know to successfully install quality used parts from Chesterfield Auto Parts.
Why Choose Used Car Parts from Chesterfield Auto Parts?
When you're faced with a repair bill, the temptation to head straight to the dealership is strong. But choosing used car parts from Chesterfield Auto Parts offers significant advantages that go beyond just the initial purchase price.
Advantages of Buying from Chesterfield Auto
- Unbeatable Pricing. Our used parts typically cost 50-80% less than new dealership components, making repairs affordable for budget-conscious vehicle owners. Whether you need an engine, transmission, suspension components, brake systems, or electrical parts, you'll find prices that won't drain your wallet.
- Expert Inventory Management. With conveniently located yards in Richmond, Midlothian, and Ft. Lee, Chesterfield Auto Parts maintains one of the largest inventories of quality used auto parts in Central Virginia. Our online system lets you search our complete stock before you visit, saving you time and effort.
- The Wishlist Feature. Can't find the part you need today? Sign up for vehicle wish list notifications and receive text message alerts every evening when vehicles matching your search are added to our inventory. This means you can grab hard-to-find components before they're gone, without having to check the yard daily.
- Flexible Service Options. Not everyone has the time or equipment to pull their own parts. If you've already found your part online, just call us and our experienced mechanics will extract it from the yard for you. Your part will be ready and waiting in our office.
- Community Commitment. We try to keep our community running smoothly, in more ways than one. Chesterfield Auto Parts supports local charities and vocational programs. When you buy from us, you're supporting a company that believes in auto recycling and supports important organizations like the National Veterans Services Fund and the Positive Vibe Foundation.
How to Choose the Right Part
1. Prepare for Your DIY Project
- Gather Vehicle Information: Collect your vehicle's VIN number, year, make, model, trim level, and engine size. This information is typically found on your vehicle registration, insurance documents, or on a label inside the driver's door jamb.
- Document the Problem: Take photos or videos of the part you're replacing if possible. Note any symptoms you're experiencing (strange noises, warning lights, performance issues). This documentation helps yard staff understand exactly what you need and can prevent costly mistakes.
- Research Installation Complexity: Before committing to DIY installation, research how complex your specific repair is. Some jobs are genuinely beginner-friendly, while others require specialized tools or knowledge. Be realistic about your available time and expertise.
2. Select the Right Used Car Parts
- Search Our Online Inventory: Use our searchable database to find vehicles matching your year, make, and model.
- Understand Part Compatibility: Not all parts from similar vehicles are interchangeable. Trim level, engine type, transmission style, and year can all affect compatibility. When in doubt, ask our yard staff.
- Compare Condition Options: Examine multiple examples of the part you need if several are available. Used parts vary in condition—some might be nearly new, while others show significant wear. Consider your budget and your vehicle's condition when making your selection.
3. Inspect Parts Thoroughly
- Visual Assessment: Look for obvious damage, corrosion, cracks, or wear. For mechanical parts, check for smooth operation and listen for grinding or unusual sounds. For electrical components, look for burnt areas, melted connectors, or corroded terminals.
- Test Functionality When Possible: If it's practical to test a part's function before removing it, do so. Turn on lights, operate switches, listen to motors, or check for fluid leaks.
- Verify Fastener Condition: Check that all bolts, screws, and other fasteners are present and in good condition. Broken fasteners remaining in engine bays or under vehicles are frustratingly common, and replacing them adds time to your project.
- Ask About Guarantees: Chesterfield Auto Parts stands behind our inventory. Ask about any available guarantees or hassle-free return policies.
4. Verify Compatibility
- Double-Check the VIN Decoder: Many online resources allow you to decode your vehicle's VIN to confirm exact specifications. Use these tools to verify that the donor vehicle's specifications match your car's requirements.
- Consult the Part's Documentation: If the part came from a vehicle with documentation, review it to ensure matching specifications.
Safe Removal Practices at the Yard
Learning proper removal techniques at the yard makes your home installation safer and easier. Here's what you need to know.
Wear Appropriate Safety Equipment – Safety glasses protect your eyes from rust, debris, and flying fasteners. Work gloves prevent cuts and abrasions. Closed-toe shoes with good grip are essential since you might be working in tight spaces. Consider wearing a dust mask if working in dusty conditions or around rusty components.
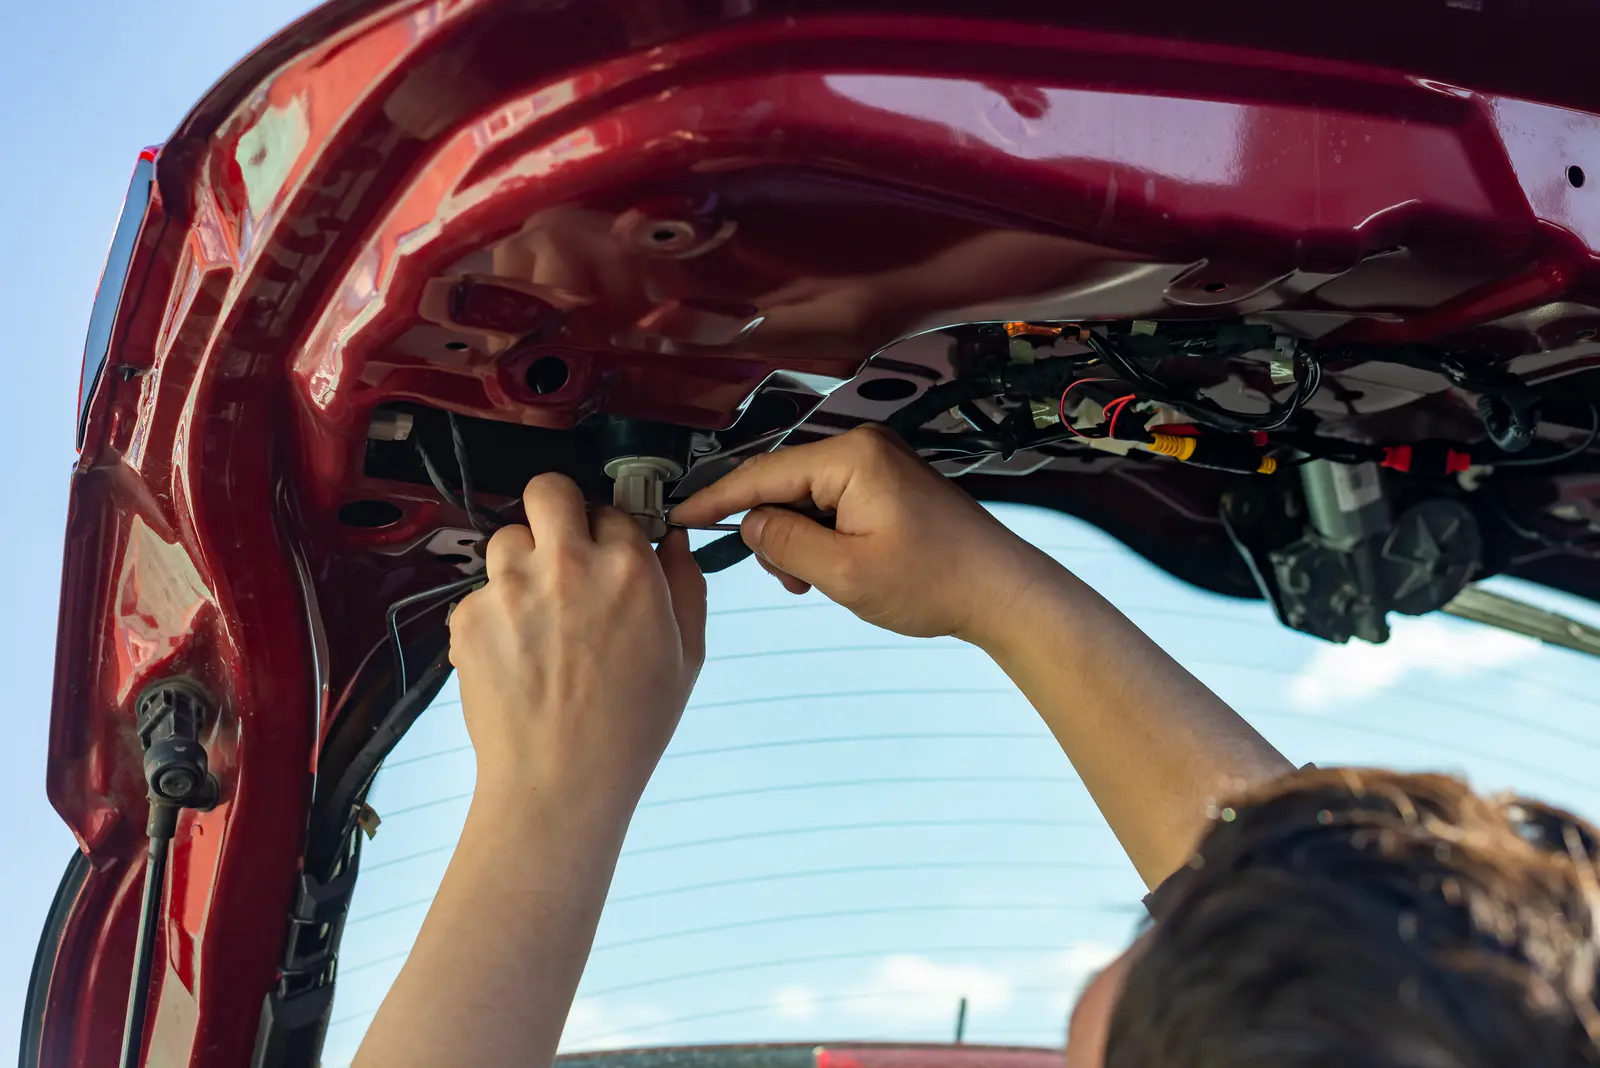
Work Methodically and Document Your Work – Take photos of the part in place before removal. Note how fasteners are positioned, how connectors are oriented, and how the part fits into the overall assembly. This visual record is invaluable when you're installing at home and trying to remember exactly how everything fits together.
Take Your Time – Rusty fasteners, tight spaces, and corroded connectors make removal more challenging than it appears. Never force anything. Apply penetrating oil to stubborn fasteners and let it soak for a few minutes. Use the right size tools to prevent stripping fasteners or damaging the part.
Ask for Help If You Need It – If you're struggling to remove a part or don't feel confident about your technique, ask. Chesterfield Auto Parts staff can provide guidance, and remember, we also offer full-service removal if you prefer. Just call us and our mechanics will pull the part for you, ready for pickup.
Preparing for DIY Installation of Used Car Parts at Home
Bringing your part home is exciting, but proper preparation makes the actual installation go smoothly.
Set Up Your Workspace – Work in a clean, well-lit area with adequate ventilation. If working outside, choose a level surface away from traffic.
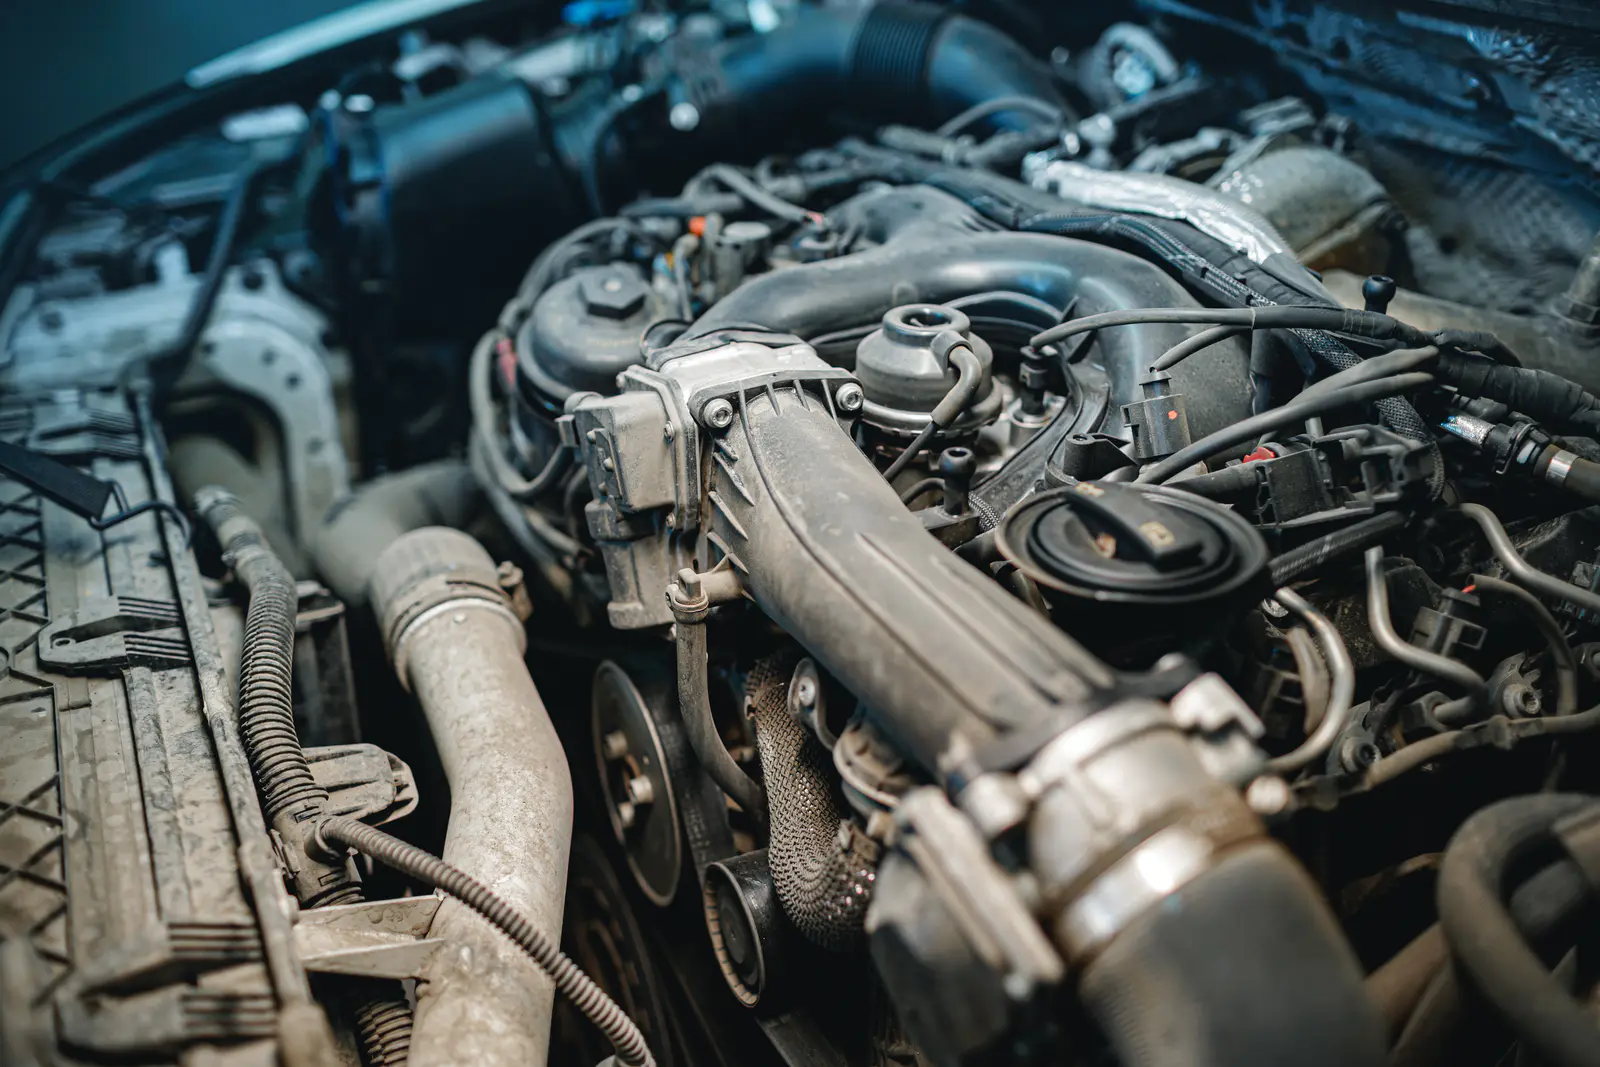
Gather All Necessary Tools – Assemble every tool you'll need before starting. Common DIY installation tools include socket sets (metric and standard), combination wrenches, screwdrivers, pliers, jack and jack stands, work gloves, and safety glasses.
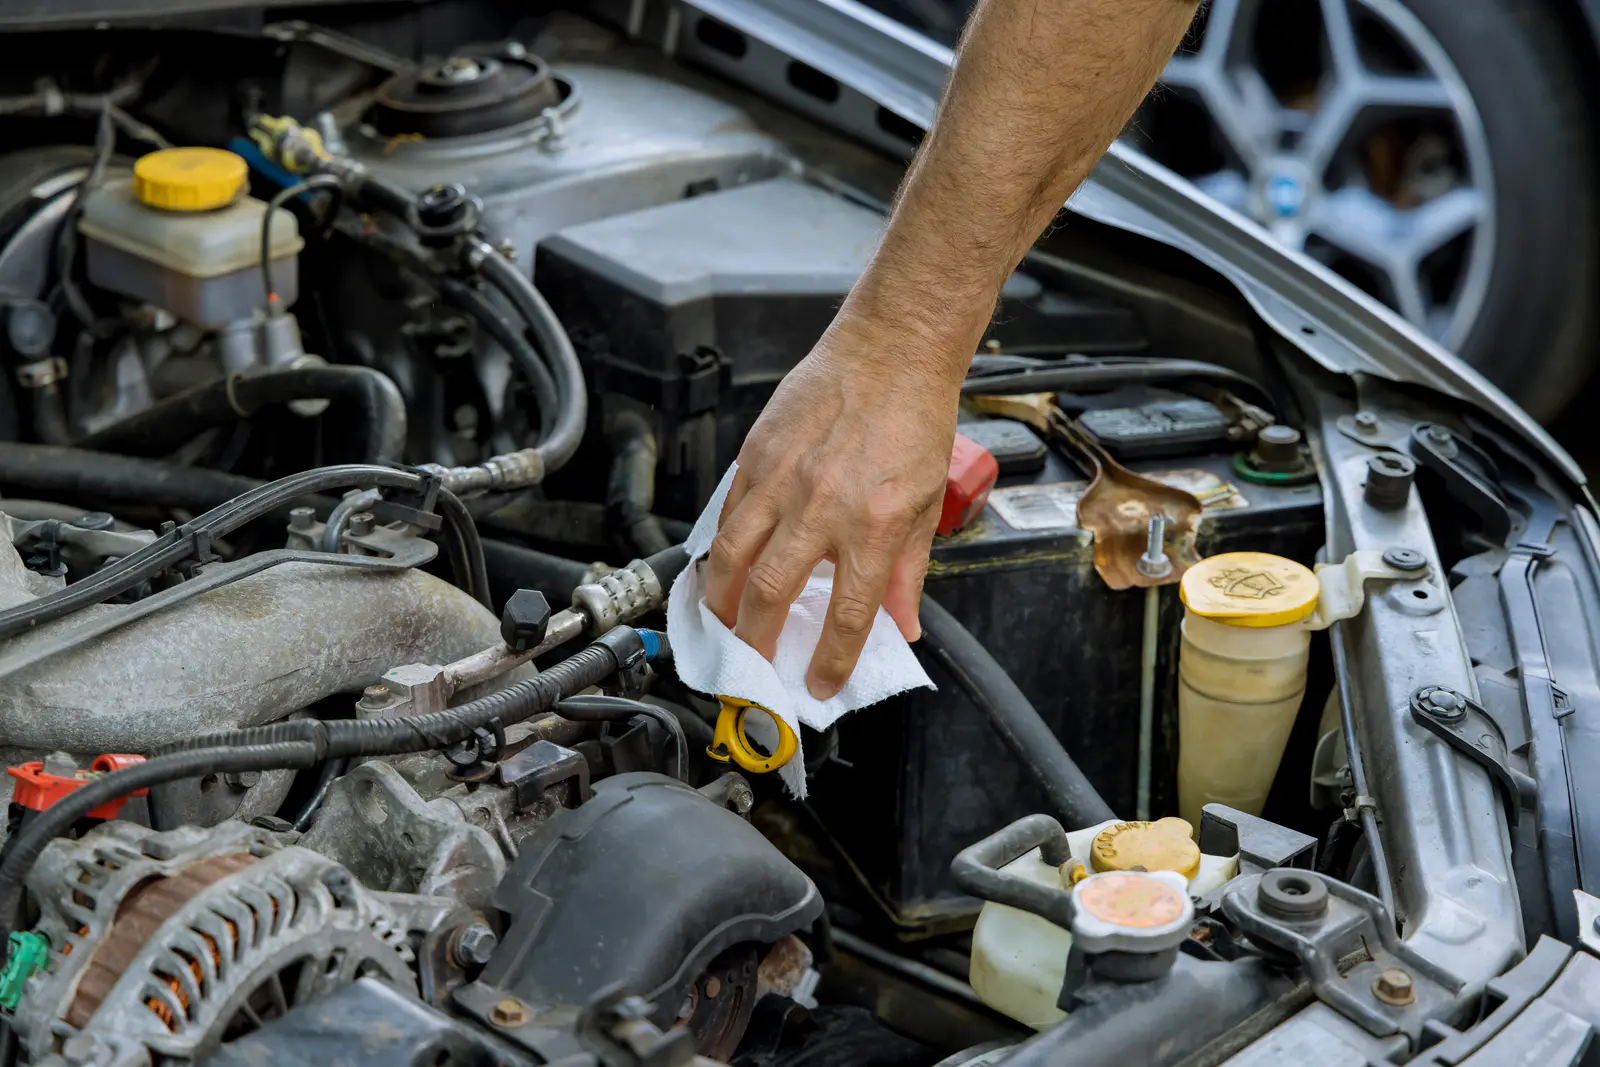
Don't Skip the Prep Work – Clean the installation area thoroughly. Remove old sealant, gasket residue, corrosion, or debris. Clean surfaces ensure proper seating and longer component life.
Step-by-Step DIY Installation of Used Car Parts
Now comes the exciting part: actually installing your new (to you) component. Here's how to do it right.
Remove the Old Part Carefully
Before disturbing anything, disconnect batteries if working with electrical components, drain fluids if necessary, and disconnect any hoses or wiring connected to the part. As you remove fasteners, keep them organized. Use small containers or a parts organizer to keep track of different fastener sizes and types.
Prepare the Installation Area
Remove dirt, rust, corrosion, and debris from the mounting surface. Use a wire brush for light corrosion or a rotary tool with a wire wheel for heavier deposits. Depending on your part, you might also need fresh gasket material, silicone sealant, thread sealant, or other compounds. Check your reference materials to determine if sealants are necessary and what type to use.
Install the Replacement Part
Carefully lift your used part into position, supporting it properly as you work. For heavy components, use an engine hoist or similar support equipment to prevent injury or damage.
Start all fasteners by hand before using tools. This prevents cross-threading and allows you to verify that the part is properly aligned before tightening anything. Once the part is secured, reconnect electrical connectors, hoses, and wiring, and refill any fluids. Ensure all connections are secure and positioned to avoid pinching or interference.
Test After Installation
Before starting your vehicle, visually inspect your work. Ensure all fasteners are tight, all connections are secure, and nothing appears loose or misaligned.
Start your vehicle and listen carefully for unusual noises. Watch your dashboard for warning lights. Let the engine run for a few minutes before driving. Take a cautious test drive in a quiet area near your home. Pay attention to how your vehicle feels and sounds. Test the specific system you just repaired (brakes, suspension, electrical function, etc.).
FAQs About DIY Used Car Parts Installation
Are there parts I shouldn't attempt to install myself?
While many repairs are perfectly suitable for DIY installation, some components require specialized knowledge, tools, or equipment. Suspension work, particularly involving pressed-in bushings or ball joints, often requires a hydraulic press or specialized tools. Complex electrical work involving multiple circuits or computer integration can be dangerous and difficult. Transmission installation typically requires specialized lifts, alignment jigs, and detailed knowledge. Brake system work demands precision and attention to safety—mistakes can have serious consequences.
What should I bring to the yard besides tools?
Beyond your tool kit, bring several useful items:
- Your vehicle documentation (VIN, year, make, model) to ensure accurate part selection
- Work clothes you don't mind getting dirty
- Heavy-duty work gloves to protect your hands from sharp metal edges and rust
- Safety glasses to keep debris out of your eyes
- A camera or smartphone to document the part in place before removal
- Water and snacks, especially on hot days
How long does a typical DIY installation take?
Simple replacements like air filters, batteries, or wiper blades take 15-30 minutes. Moderate repairs like alternators, starters, or radiators typically take 1-2 hours. Complex jobs like suspension component replacement, transmission work, or extensive engine repairs could take a full day or require multiple days. You may need more or less time depending on your experience level.
Can I get assistance if I can't pull the part myself?
Absolutely. That's exactly why Chesterfield Auto Parts offers our professional removal service. If you've already located your part online but don't have the time, tools, or confidence to extract it yourself, simply call us. Our experienced mechanics will pull the part from the yard and have it ready for pickup at our office.
Get Started with Your DIY Project at Chesterfield Auto Parts
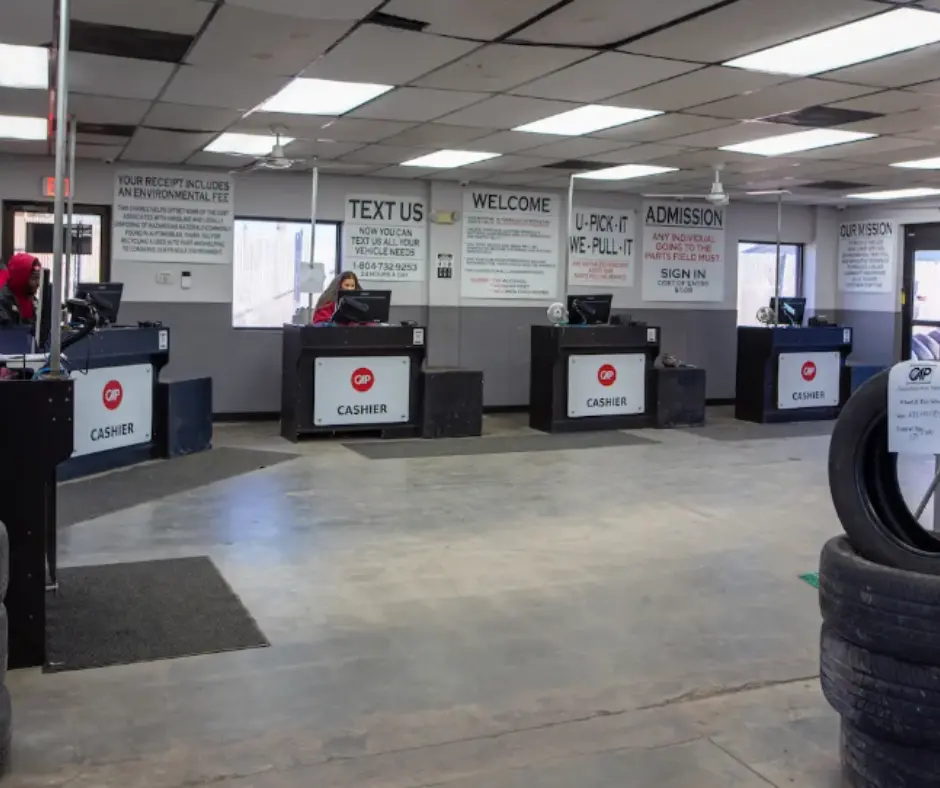
You're ready to embark on your DIY installation of used car parts journey. Chesterfield Auto Parts is here to support you every step of the way. Our three convenient locations in Richmond, Midlothian, and Ft. Lee mean quality used auto parts are never far away.
Ready to start? Search our inventory online or call us today. With over 1,500 five-star reviews, you can trust us to provide the quality parts and expert service that keep Richmond-area vehicles running strong.